We've all seen the pictures that look like the sky is short circuiting. Some people hate them, but I get a crazy response when I create these. It seems like every time I post one, I get several messages from people asking how to do this process. I've been promising to put this tutorial together forever, so here goes.
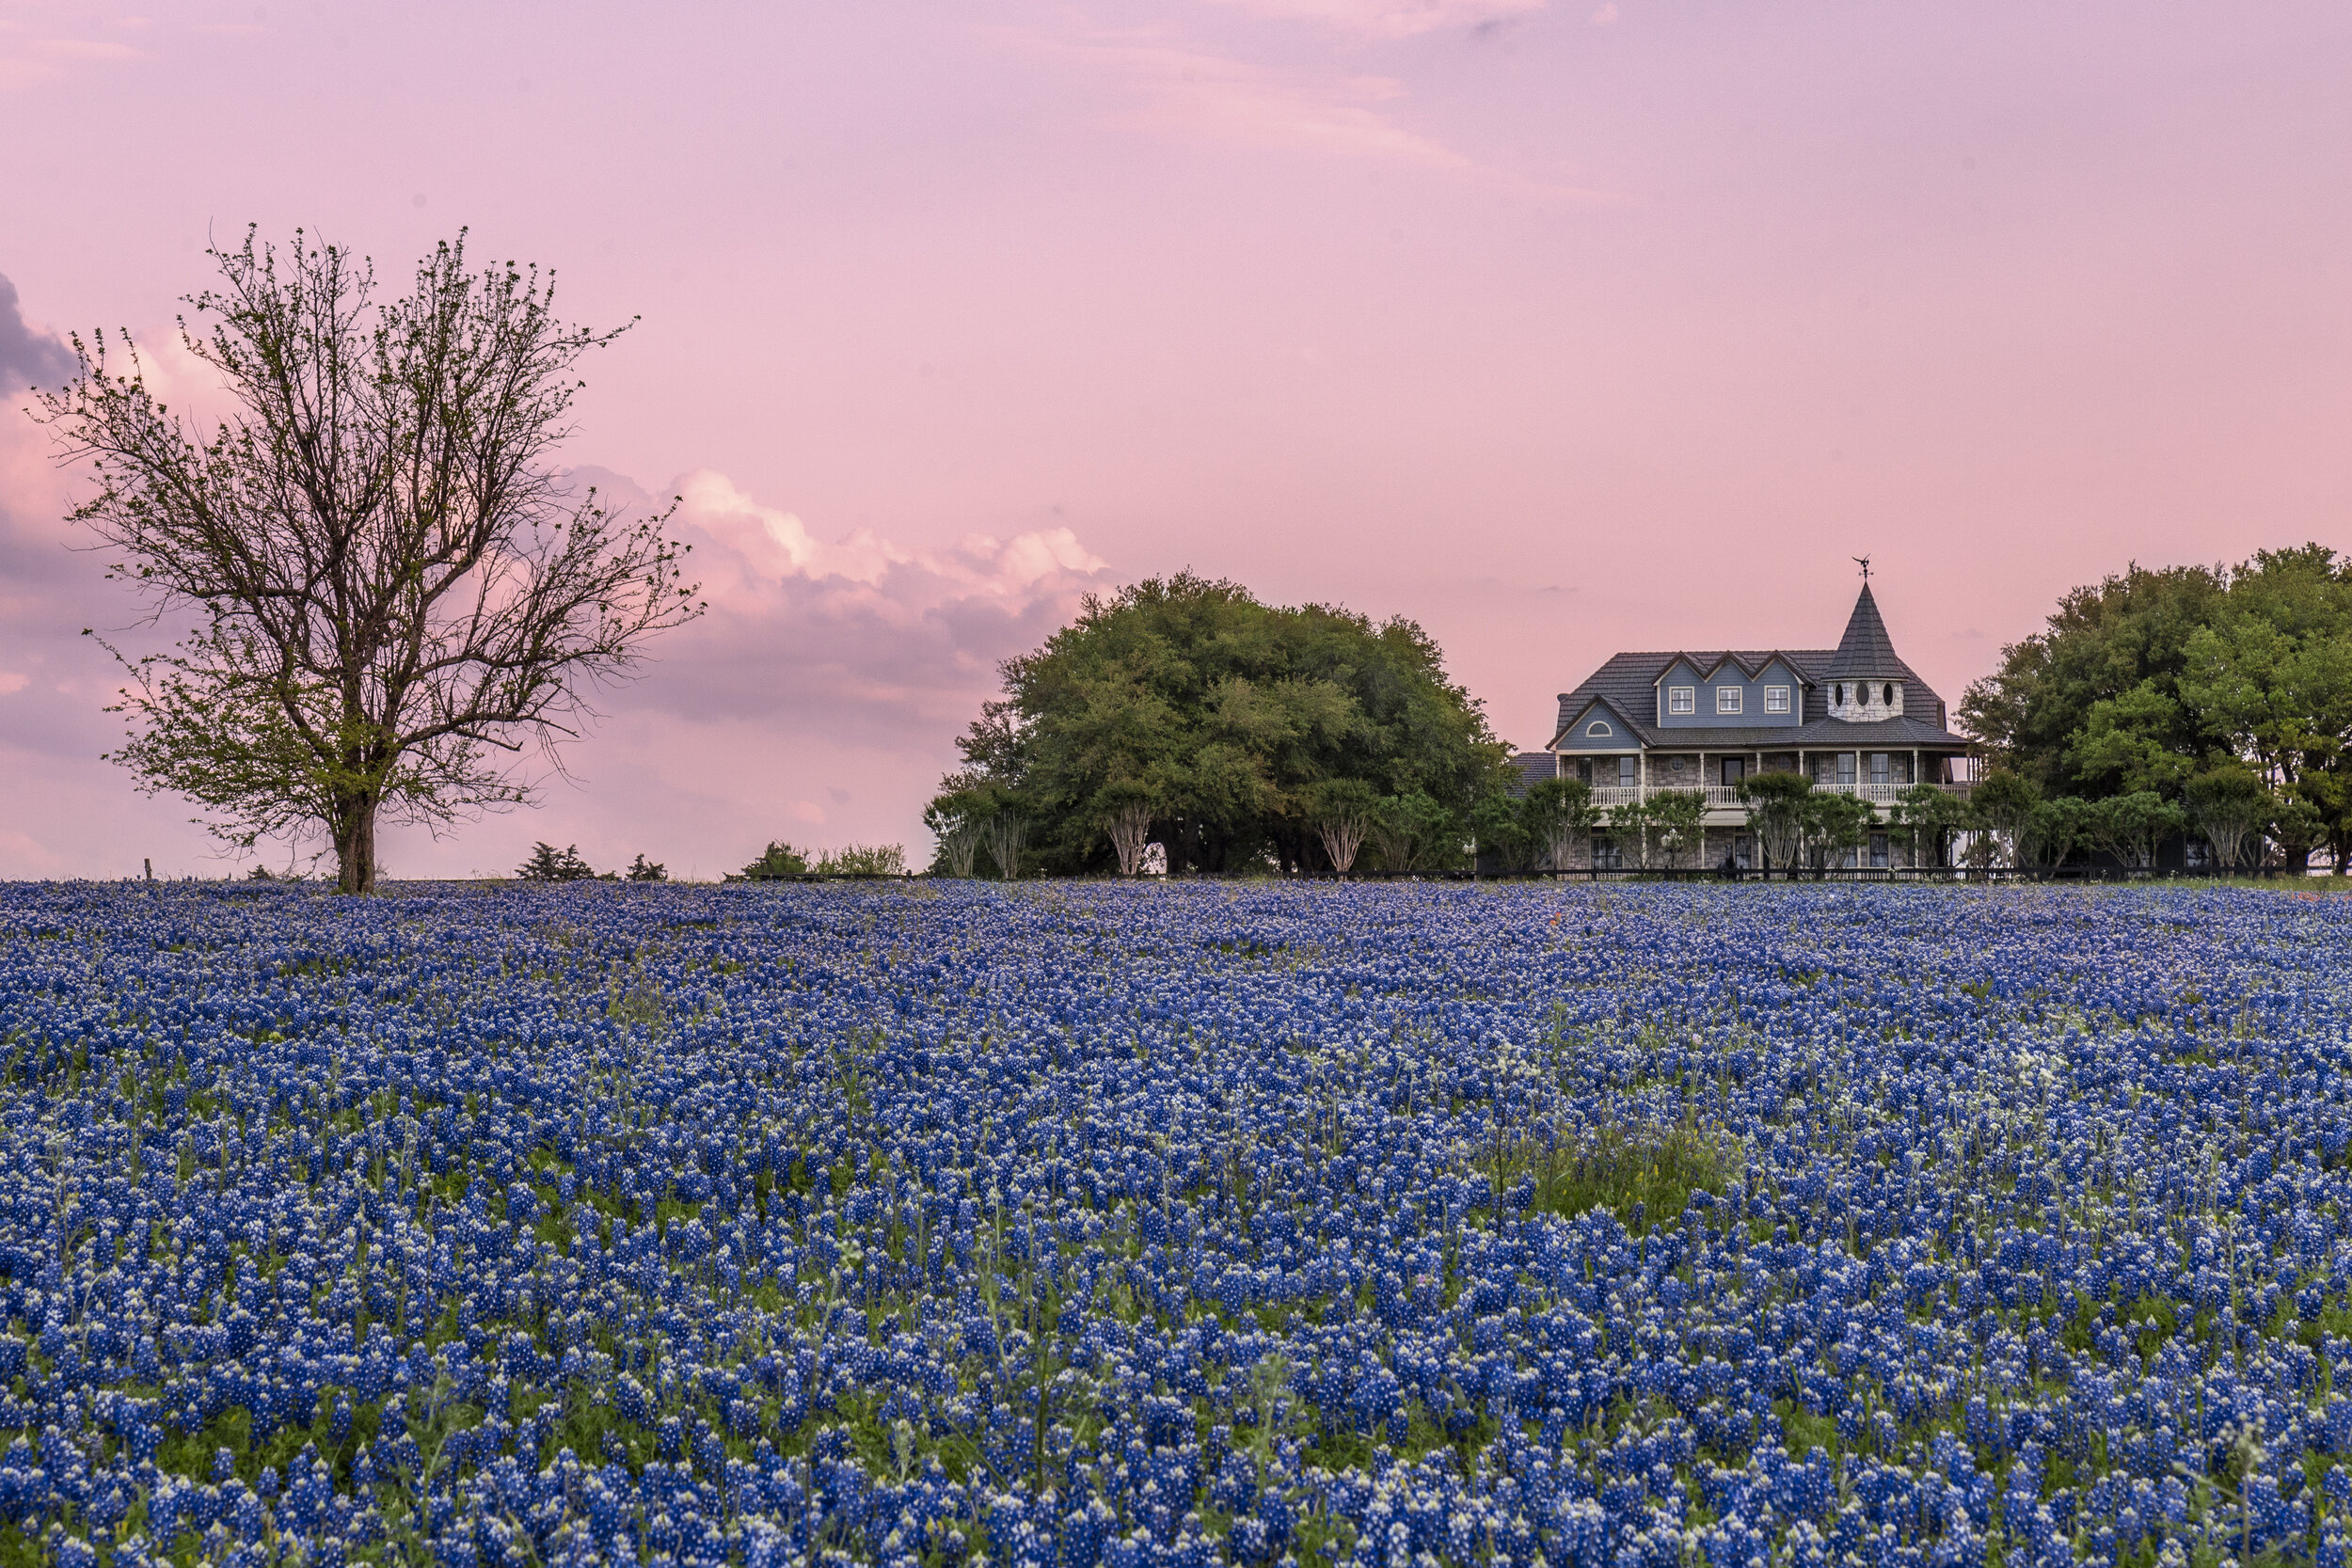
5 stacked images
f/13.0
1/120th second
ISO 50
The process to make these kinds of images is called stacking, and it involves taking a series of photos over a period of time then layering them on top of one another in Photoshop, so that all the lightning shows together in the final product. It's a fun process, that is only as complicated as you want to make it. I have created stacked images from as little as 2 files, and from as many as 215 files.
When shooting for these kinds of images, it's important that you do not move your camera. You're going to want everything to line up perfectly, and that is impossible if your camera is moving around. Since I started doing these and timelapse videos, I rarely move my camera any more once it is setup. If you need some tips for capturing lightning, check out my tutorial on that here.
I make all my stacks in Photoshop and Bridge. There are also other programs out there that will automatically stack your files for you (StarTrails is a good one, and free).
Step by step video for this tutorial.
What you need to stack lightning pictures
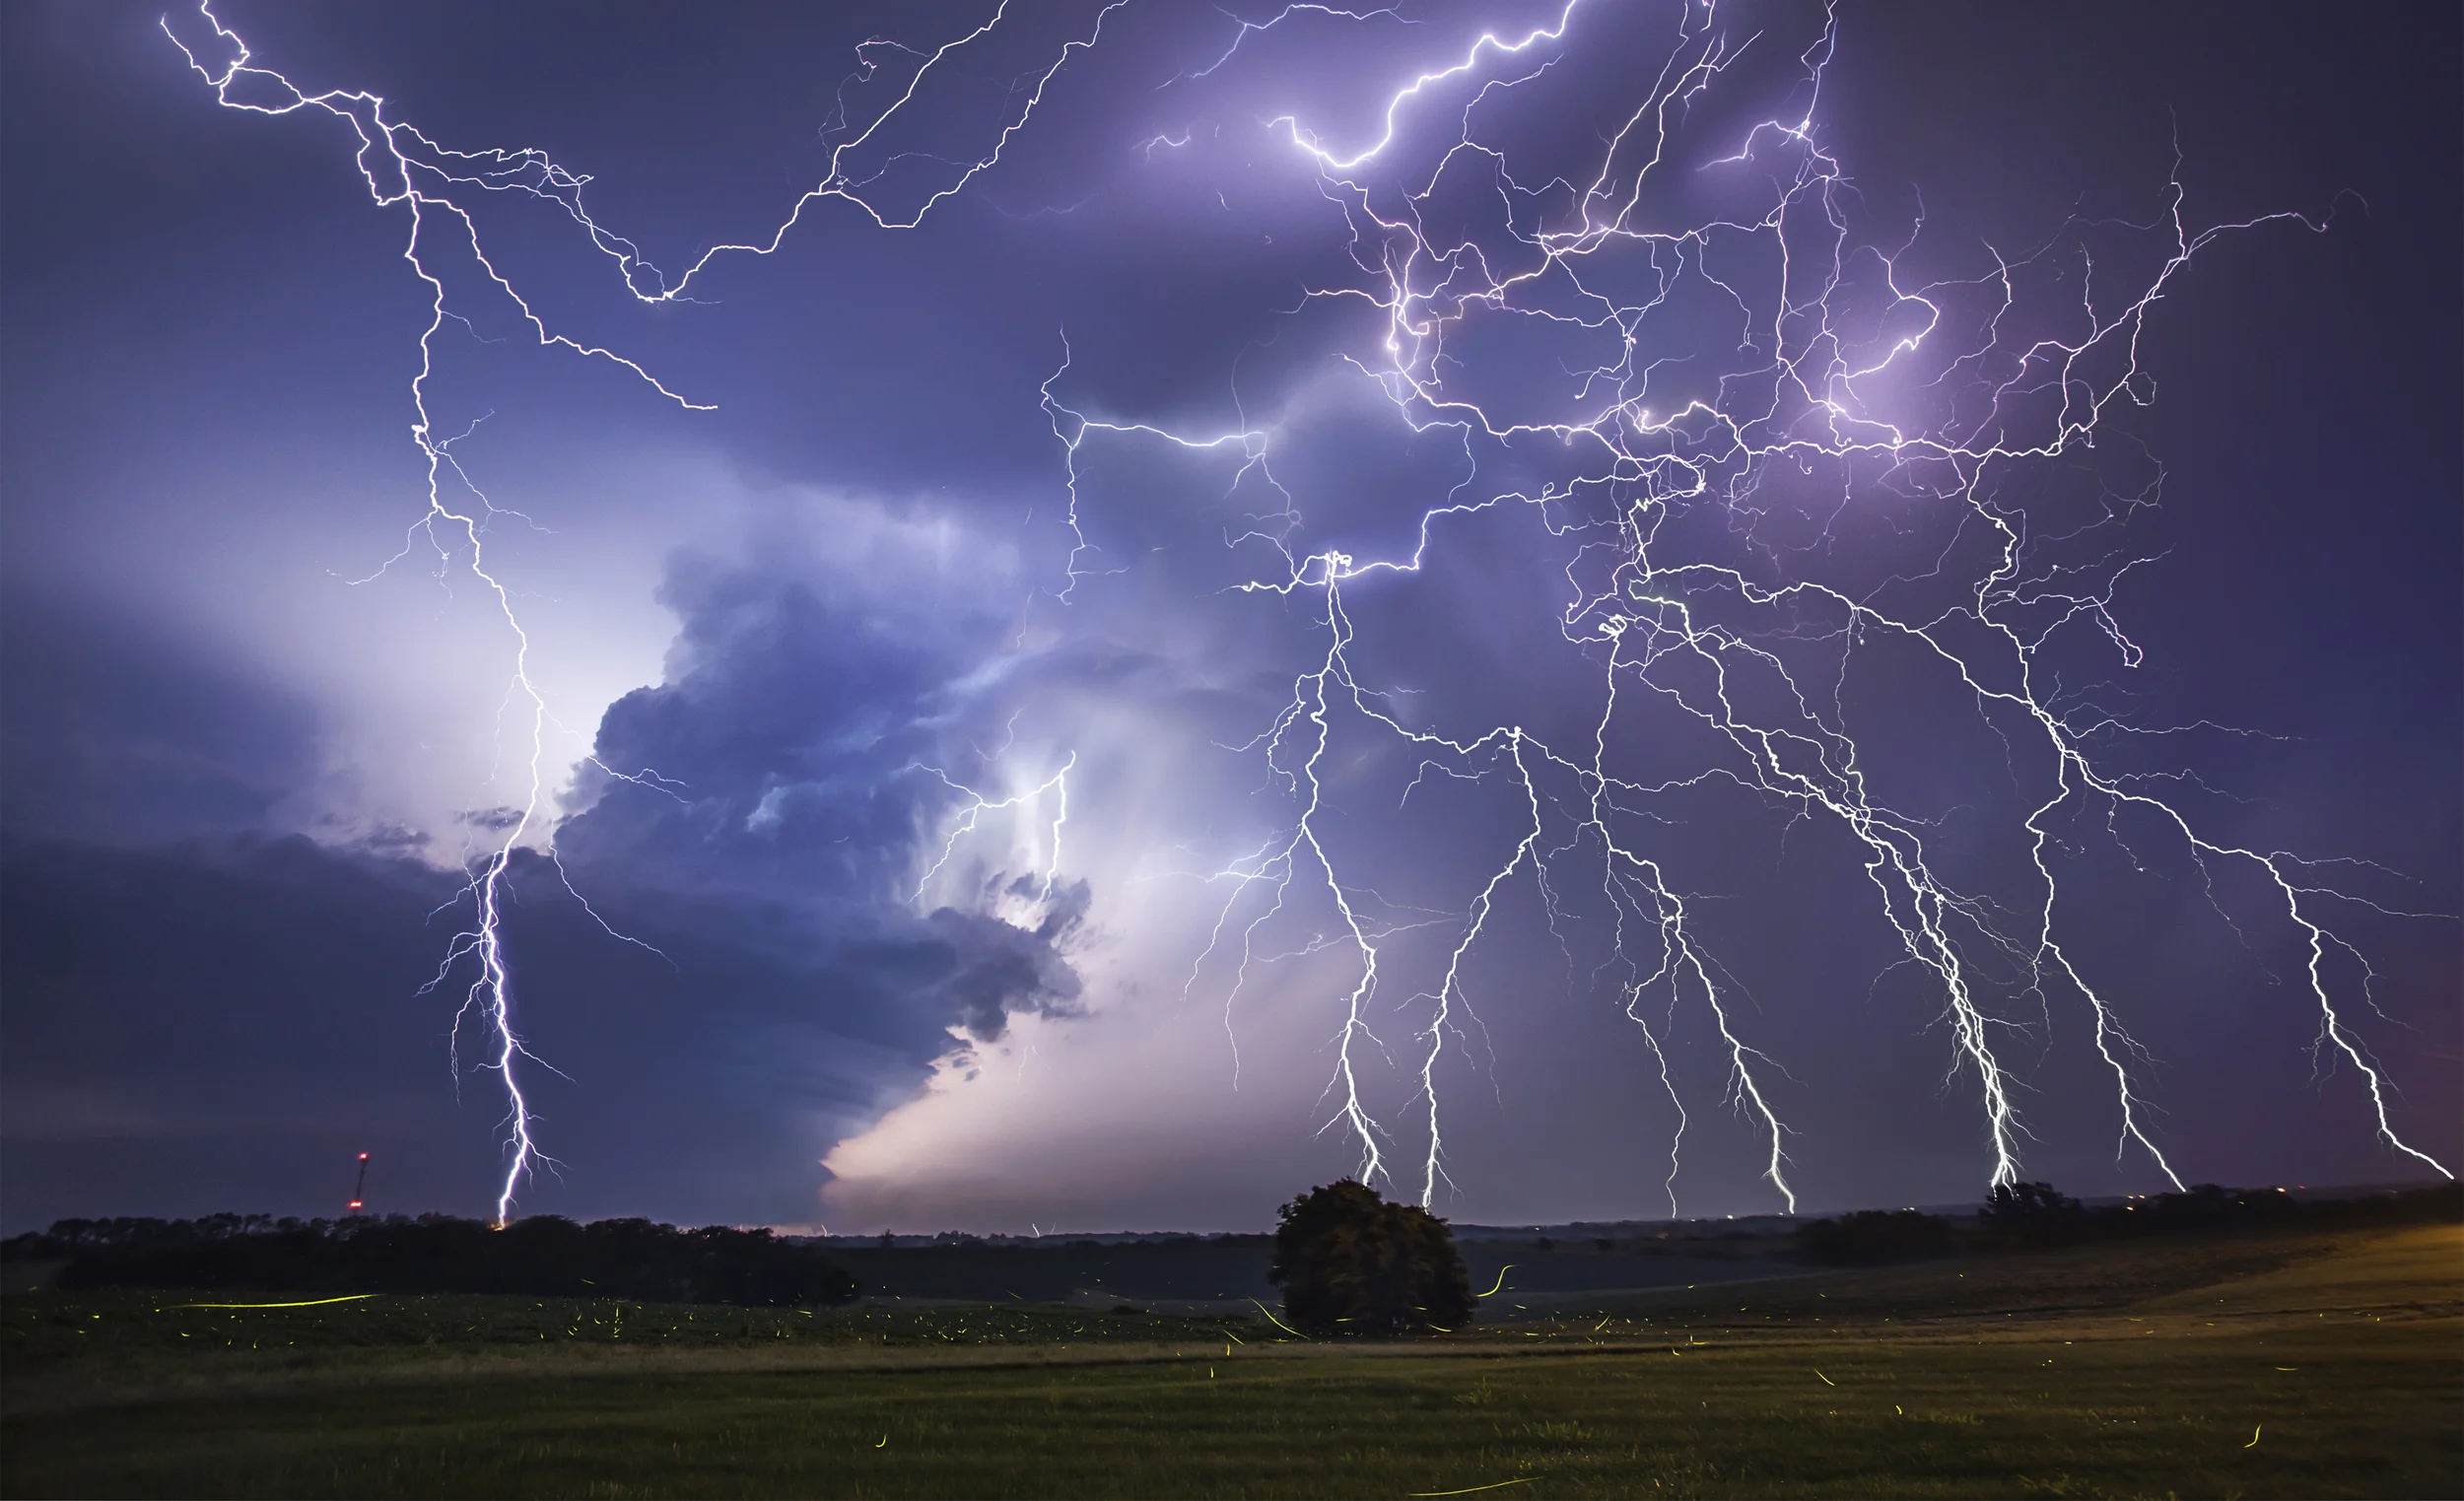
42 stacked images for lightning bugs and lightning
f/6.3
8 seconds each
ISO 640
31 stacked images
f/6.3
15 seconds
ISO 400
open your images in camera raw
First you're going to take your series of photos and make minor Camera Raw adjustments. For all of these images, I bumped up the shadows and pulled back the highlights. It is important to make sure all of your settings for each image are identical. This is especially true of the color balance. Do not enable manual lens profile correction for this step. You will make your major Camera Raw corrections after you have combined the images. Once you have made your adjustments click Open Images.
Tip: Click Select All in the top left corner of the Camera Raw dialogue to make simultaneous changes to all of your images.
stack Your Images onto a Single File
Select all of your photos in Bridge by holding the Ctrl button and clicking on each image. If you only have the images you wish to stack in the folder, you can use the keyboard shortcut Ctrl+A to select them all. With all your photos selected, click: Tools -> Photoshop -> Load files into Photoshop layers.This step may take a while, depending on your computer's speed and the amount of images you are stacking.
Change the Blending Mode On Each Layer
Once all of your images are stacked onto a single file, you will change each layer's blending mode to LIGHTEN. This mode will make visible only the parts of a layer that are lighter than the what is in on the layers below it.
Apply Layer Masks for Fine Tuning
When stacking images, you will notice clouds tend to build up very quickly and begin to make the image look unnatural. To fix this, I use Layer Masks on each of the stacked layers. LTo apply a layer mask, click the Add Layer Mask button, located in the menu at the bottom of the layers palette. Layer masking is pretty simple. It is basically an eraser that you can paint back in. Select the Brush Tool, and change your foreground color to black. You will notice that the brush tool is acting like an eraser. Now switch your foreground color to white and paint back over what you just erased. You will see that the brush tool is now painting the erased part of the image back in. Just remember black erases, white paints back in.
Tip: Turn Layer Visibility off on all but the bottom two layers, then work your way up through the layers. You may need to add a Layer Mask and mask away parts of the stacked layers that just don't quite work. Flip the Layer Visibility on and off for each layer several times. This will allow you to see which part of each layer might be an issue.
Check the color balance for each layer
This is where I see most people go wrong with their stacked lightning images. Although all of the color temperatures have been aligned on the image, the kind of light produced by the different bolts of lightning will cause slight variations between each strike in your image. After applying all of the layer masks you just added, go into your menu then navigate through Image->Adjustments->Color Balance, you can also use the keyboard shortcut Ctrl+B. For most images you will be making the adjustment to the Highlights portion of the image, so be sure to select that in the dialogue box. If you know a little bit about color theory, this should be easy for you to figure out what needs to be done. If this confuses you, try giving this article on color balance a read.
Flatten Your Image
Now we are going to make the image one single layer so we can make fine tune adjustments to it. To do this you can either go to the menu and select Layer -> Flatten Image or use the keyboard shortcut Ctrl +Shift + E.
Save Your Image
We are going to save our image as a .TIFF file so we can make adjustments in Camera Raw. .TIFF files are a lossless file type, that retain all of the image file's information without applying any compression. The files are large, but the quality makes them worth the space they take up. Go to the menu File->Save As or use the keyboard shortcut Ctrl+Shift+S then name your file and select .TIFF.
Reopen your stacked image in camera raw
We are now going to make our fine tune adjustments in Camera Raw. Locate your image in Adobe Bridge. Then Right Click -> Open In Camera Raw..
Tip: You must have your image flattened into a single layer to have the ability to reopen in Camera Raw.
Make Adjustments in Camera RAW
This is where we will really start to bring the image to life. You can follow along in the video for details on these steps. I made my adjustments using the sliders in the Basic, Detail, HSL / Grayscale, and the Lens Correction Panels. I then applied a Graduated Filter to darken the top of the image a bit. Once you make your adjustments, click Open Image.
reopen your stacked image in photoshop
We are now going to open our image in photoshop and make all of our corrections in there. This is where we will make our fine tune adjustments. I made adjustments to the image's Levels, applied a Gradient Map, Cropped, did some Dodging and Burning, and added a High Pass filter to sharpen. Follow along in the video to see how to complete these steps.
Save your image and share your creation
If you found this tutorial helpful, please feel free to post a link to your image in the comments below. I'd love to see what everyone comes up with!
This process can be used for daytime or nighttime lightning. It can also be used for star trails and even storm images that give a painterly quality, such as the stacked image of the Waurika Supercell below.
215 stacked images
f/16
1 second
ISO 50